I'm going to be honest with you: I have no idea why this can happen.
This is one of those errors that makes you say "this started to happen out of the sudden and I'm 100% sure I touched nothing". But it's there, and I have a potential solution, hoping you are in a hurry to get it fixed without asking too much questions.
[Composer\Downloader\TransportException]
The "https://example:example@repo.example.com/packages.json" file could not be downloaded: SSL operation failed with code 1. OpenSSL Error messages:
error:14090086:SSL routines:ssl3_get_server_certificate:certificate verify failed
Failed to enable crypto
failed to open stream: operation failed
The full error is up there and it appears when you use Composer such as when running composer install, and it seems to be that your computer is using a wrong (or not up to date?) CA certificate when trying to communicate with a Composer repository.
cacert.pem is a bundle of CA certificates that you use to verify that the server is really the correct site you're talking to (when it presents its certificate in the SSL handshake).
So, fixing this is quite simple as it only involves replacing the cacert.pem file with the one you can download here: CA certificates extracted from Mozilla.
If you are using MAMP, chance are that the file you need to replace, locally, is on /Applications/MAMP/Library/OpenSSL/certs/, but if you are unsure you can open a Terminal and run locate cacert.pem to get a list of all the places where you can find the Certificate Authority file.
If still unsure about the location of the cacert.pem you need to replace, check your php.ini and look for the openssl.cafile= line.
[openssl]
; The location of a Certificate Authority (CA) file on the local filesystem
; to use when verifying the identity of SSL/TLS peers. Most users should
; not specify a value for this directive as PHP will attempt to use the
; OS-managed cert stores in its absence. If specified, this value may still
; be overridden on a per-stream basis via the "cafile" SSL stream context
; option.
openssl.cafile=path/to/cacert.pem
Finally, remember to restart Apache before trying again.
Magento usually has bugs (thank you, Captain Obvious) after the release of a version, that are later corrected on subsequent releases (known issues).
Using patches to change core files in Magento is not a bad practice when the goal behind it is to bring core fixes existing on newer versions to the one we have running, avoiding so a full upgrade.
How to apply a patch
I'm starting the other way around as applying a patch might be more common than actually creating one, specially because Magento itself releases patches for its own platform, third-party vendors release patches for their extensions, and the community also makes patches for others to use.
There's a well known Composer package named cweagans/composer-patches that handles the patches and applies them to the original Magento modules every time you run composer install and/or composer update.
Technically speaking, this tool installs all Composer packages required, then removes the Magento modules affected by the patches we are including, and re-install those modules with the code changes applied.
➜ ~ composer install
Gathering patches from patch file.
Removing package magento/module-customer so that it can be re-installed and re-patched.
- Removing magento/module-customer (102.0.5)
Loading composer repositories with package information
Installing dependencies (including require-dev) from lock file
Package operations: 1 install, 0 updates, 0 removals
Gathering patches from patch file.
Gathering patches for dependencies. This might take a minute.
- Installing magento/module-customer (102.0.5): Loading from cache
- Applying patches for magento/module-customer
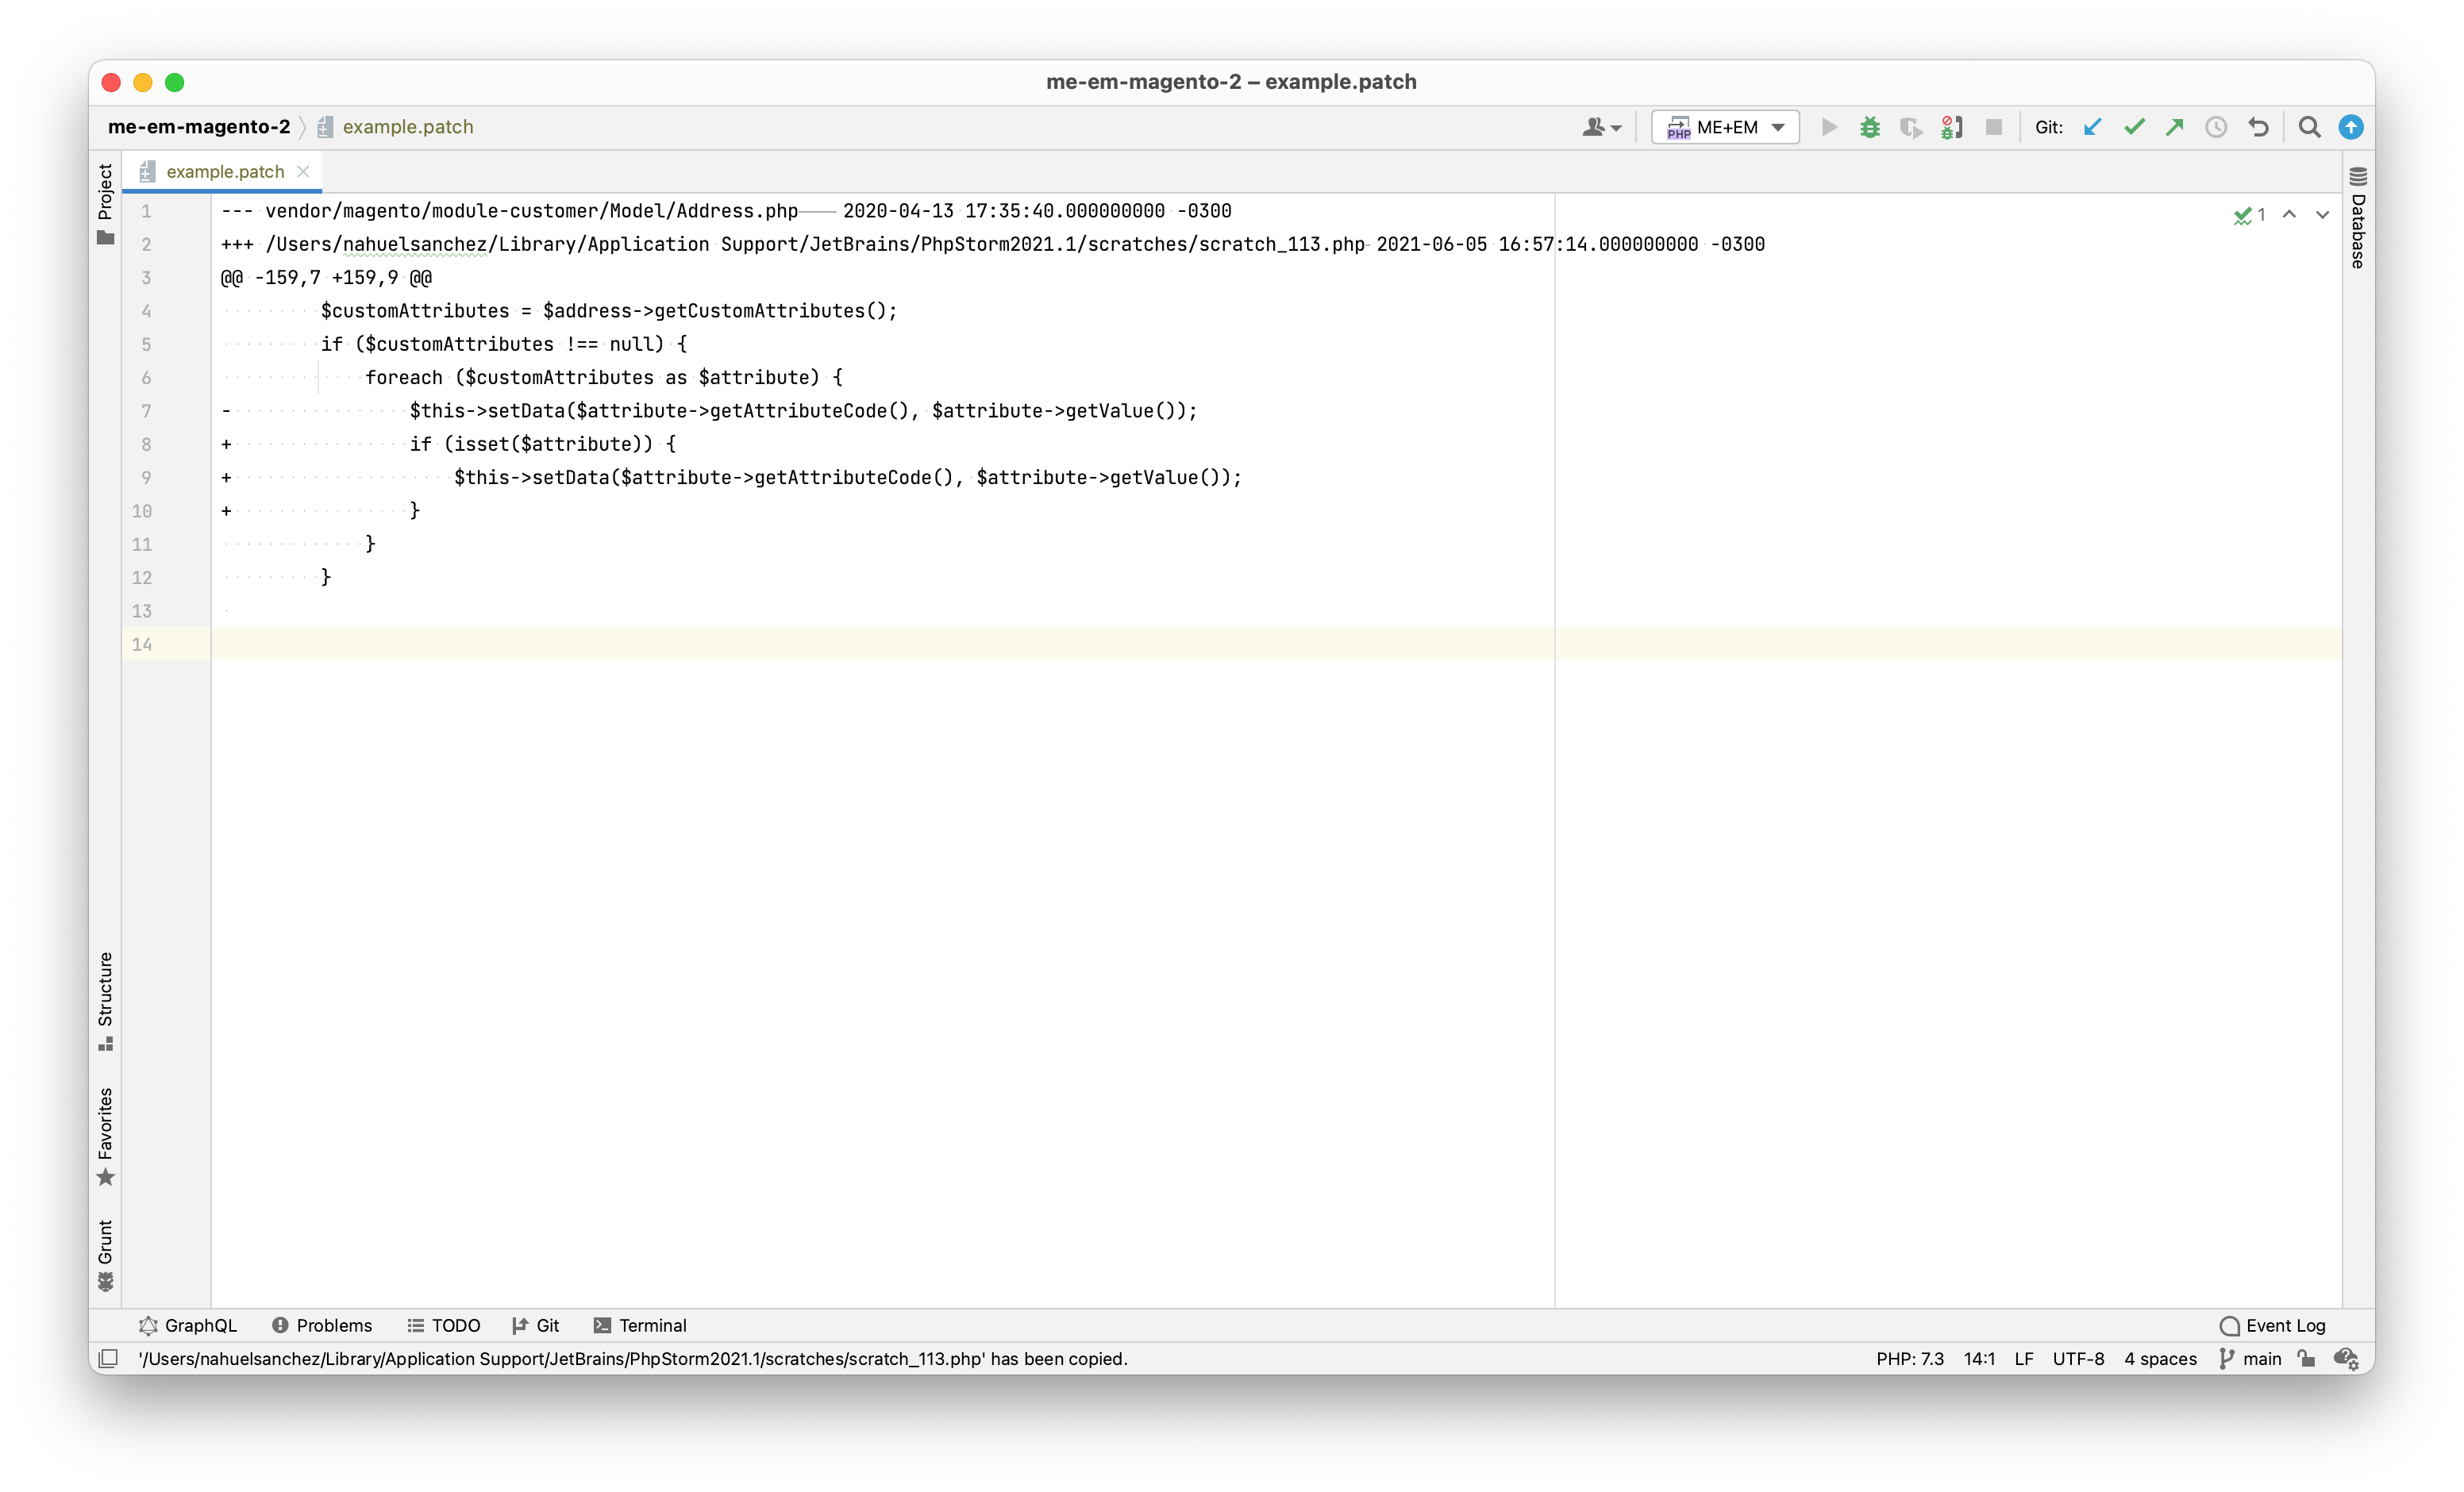
patches/composer/magento/module-customer/22952.patch (#22952 - Delegated account creation fails with custom attributes present in customer address)
For making this happen, first you need to add your .patch file in the patches/composer/magento/[module-name]/ folder (relative to the Magento root, at the same level your composer.json file lives).
The name of the .patch file doesn't really matter, but I personally like to use the number of the GitHub issue where the known issue was discussed, if that even exists. Otherwise, any descriptive name would do.
For the [module-name] folder name use the Composer package name containing the files you are patching.
As an example, the Composer package name for the Magento_Customer module is module-customer. This information is on the composer.json file of each package, inside the vendor folder.
Finally, on the root composer.json file, inside the extra node create the patches node and define the patch to apply as the following example.
Magento 2 needs Composer, so let install it on OS X in a way it can be used globally.
Considering that installing Composer will create a composer.phar file, and our intention is to use it everywhere, anytime, regardless the project we're working on, I decided to install it (meaning let the composer.phar be created) in /Applications/Composer (it makes sense to me, but you can choose the destination folder you want).
Installing Composer
First thing first, let's go to /Applications, create the Composer folder, and get in.
cd /Applications/
mkdir Composer
cd Composer
Now, we can install Composer for real using cURL.
curl -sS https://getcomposer.org/installer | php
If everything goes as expected we'll get a nice message saying something like "Composer successfully installed to..." and we can proceed to the next step.
Making it globally available
Now that we have the composer.phar file, we need (or want?) to have it globally available by typing composer in the command line. To achieve this let's start by moving our composer.phar file to /usr/bin/.
sudo mv composer.phar /usr/bin/
And finally let's create an alias on our bash profile.
alias composer="php /usr/bin/composer.phar"
Reload the command line profile, and that's all it takes to get Composer on OS X. You can now go to any folder you want and type composer about. If something nice appears it means everything is okay.
I might be skipping the part where I'm supposed to explain how to edit and reload the bash profile. It was on purpose because it always different depending on the terminal you use (for example mines it's located in ~/.zshrc because I use Oh My ZSH!).
You can try the following in order to access and edit the bash profile.