While the title up there make this post looks like a promoted and/or paid one, that's not the case (I wish), and instead this is an honest appreciation of Cloudways and how it has made my life easy while dealing with servers, specially considering that I don't think myself as an advanced devOps.
Recently at the company I work for we had the task to move an existing Magento project, already in production and publicly accessible, from a server outside Cloudways to a server managed by Cloudways.
What's next is going to be long, and everything described could take around 3 days (one day for the server creation, another day for testing the new instance, and a third day for the actual site moving), depending on your skills.
So let's get to it.
Preparation
Make sure to tick a few boxes before moving forward by checking if you have the following:
- Credentials to access the original server over SSH and SFTP, with enough permissions to manipulate files within the web root folder (usually
public_htmlorwww), usescp,tar, andcatfor server configuration files such as the one for Nginx and Varnish. - Server permissions to use
mysqldumpto create a database backup, or a way to get your hands on a database backup of the project living on the original server. - Access or a point of contact for managing DNS changes for the project’s domain.
- Access to the payment gateway accounts and/or credentials needed to configure the payment methods.
Finally, make sure to identify which third-party services currently connect directly to the server over SFTP or similar, because those will need to be reconfigured to point to the new IP and/or to be given new SFTP credentials.
Create the server in Cloudways
Decide on the server size and create it on Cloudways, making sure to factor in how much space you will need for the database, files, and "maneuver" as you will be moving zipped files from the original server to unzip them later.
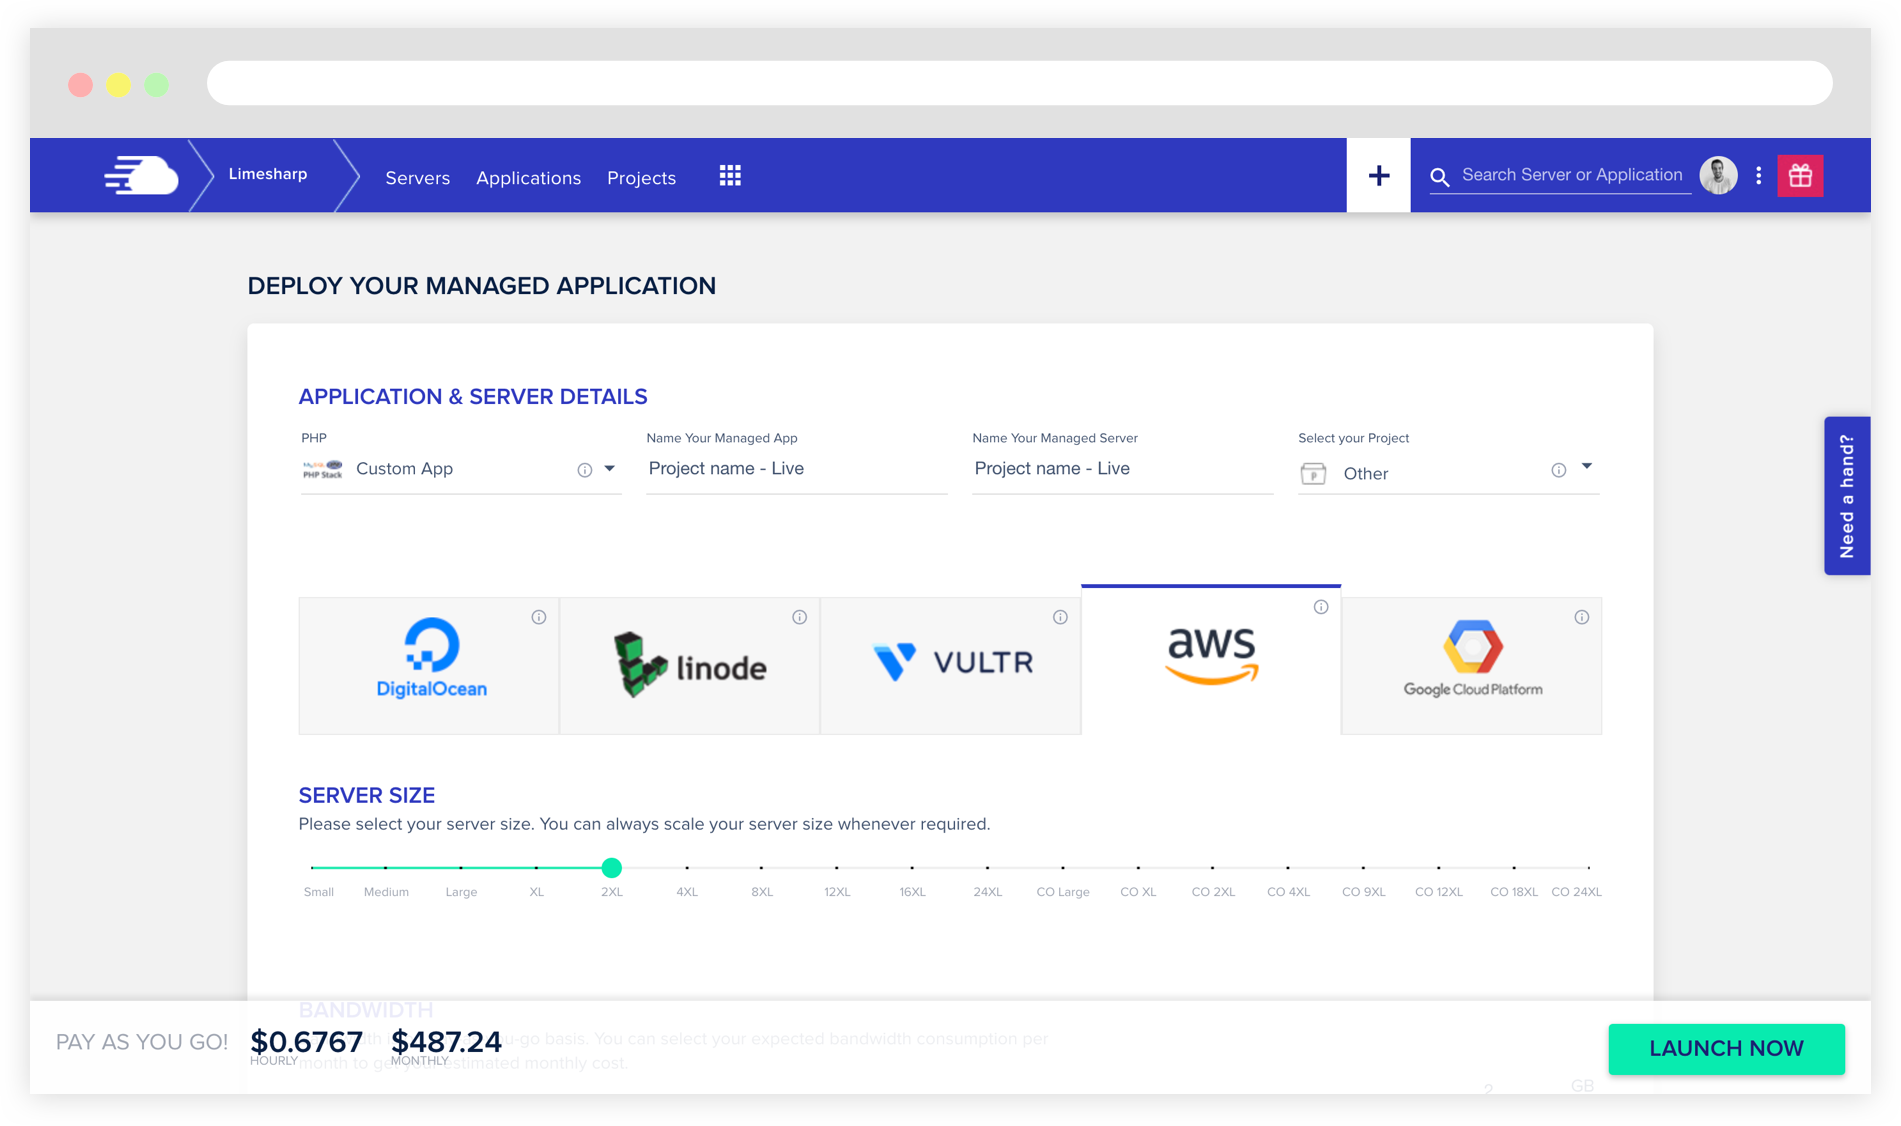
Cloudways offers Magento-ready instances for specific versions. If the project you are moving uses a Magento version already listed in Cloudways you can select this version from the dropdown that appears when creating the server, otherwise make sure to select “PHP - Custom App” instead.
This is important because, for example, if you are moving a Magento 2.2 version to Cloudways you can not select “Magento - Version 2.4.1 (with Elasticsearch)” from the dropdown as this instance will come with Elasticsearch 7 out of the box and you won’t be able to downgrade it to Elasticsearch 6 (which is the required version for Magento 2.2 using ElasticSuite).
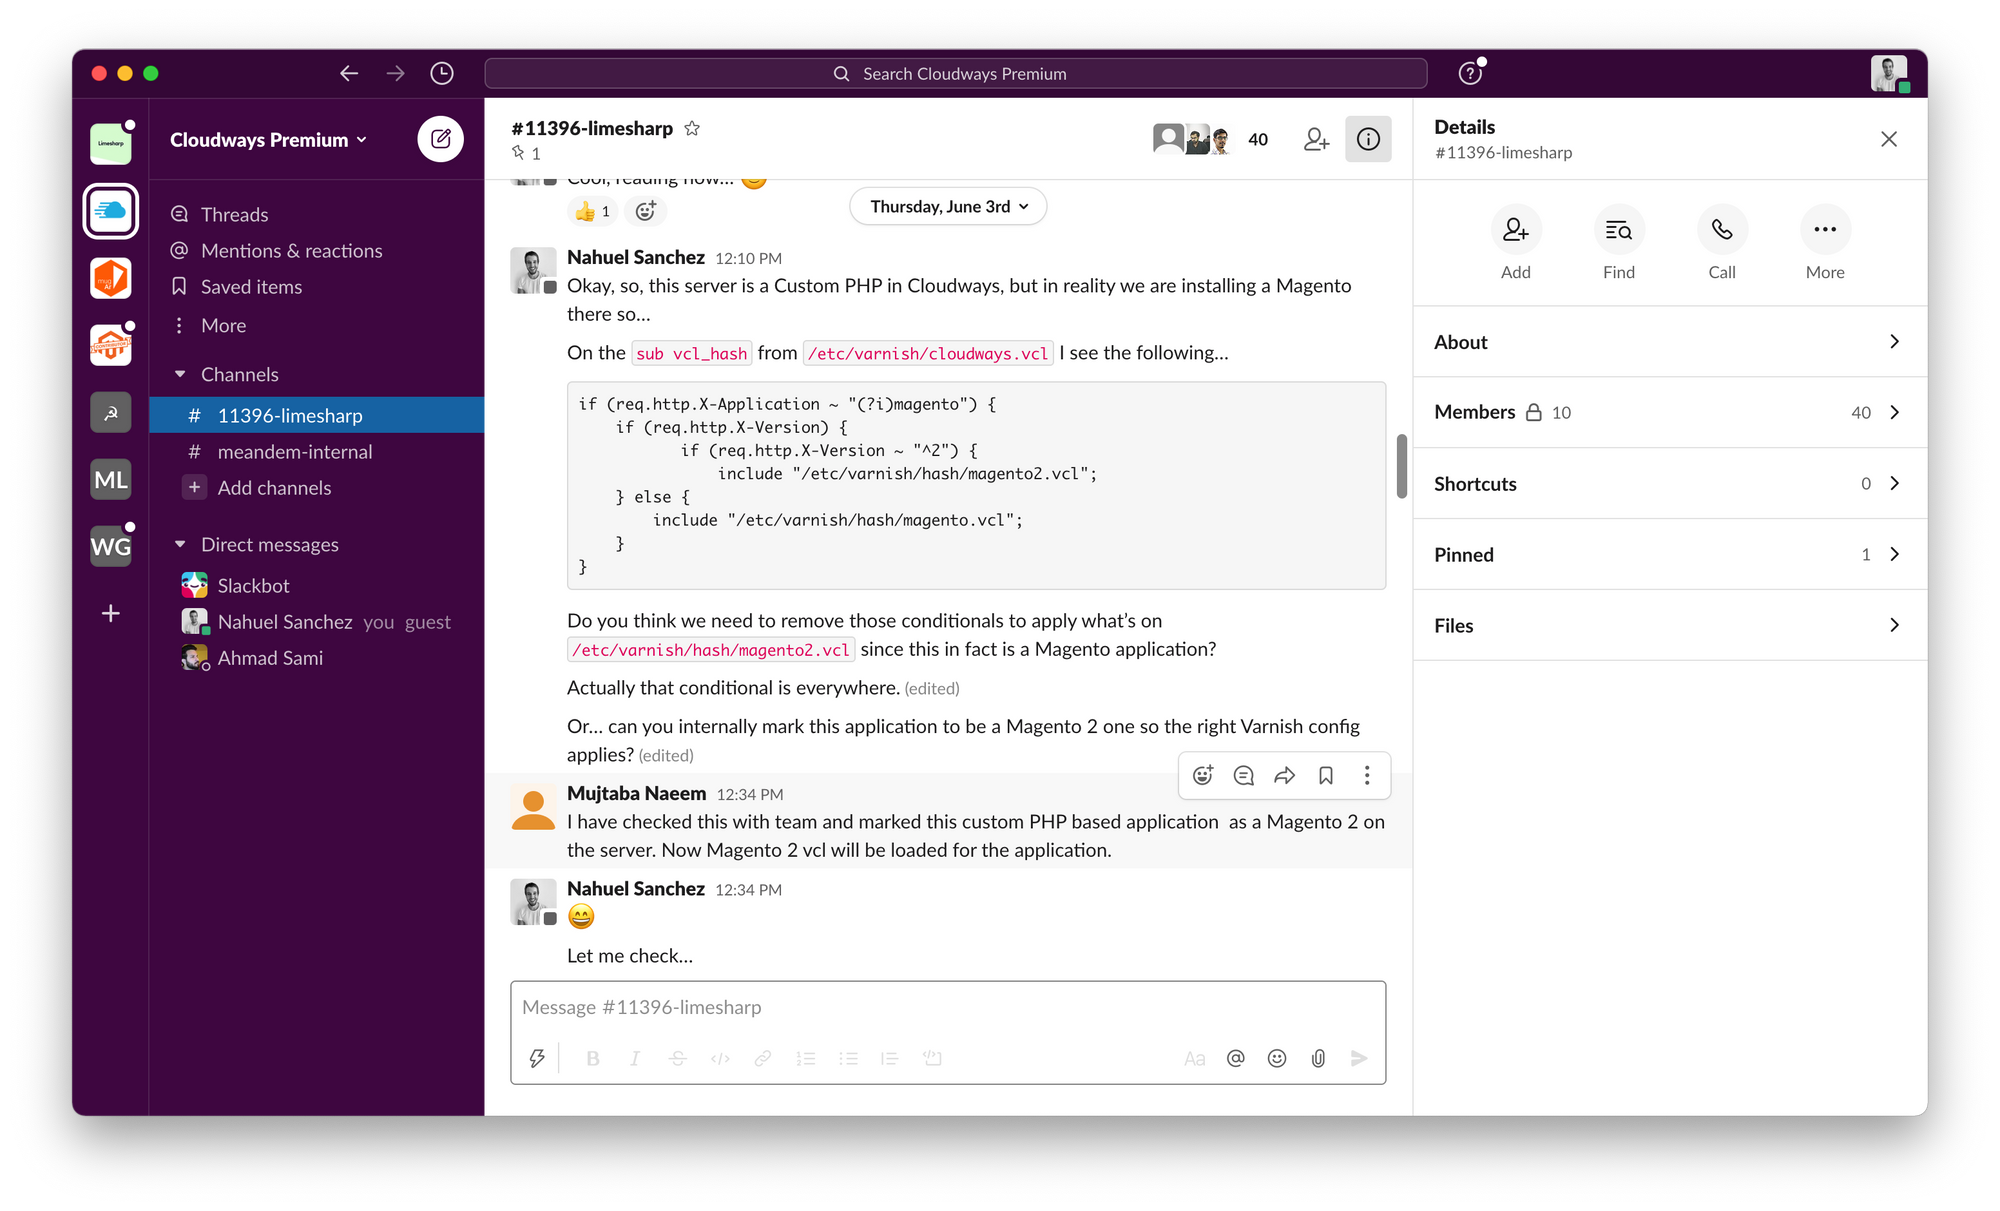
If you need to go down the route of selecting “PHP - Custom App”, then you must contact Cloudways Support for them to "flag" this instance as Magento internally, after creating it.
This is because Cloudways offers specific configurations and performance-oriented settings for each type of instance, like an internal logic in place to load the specific Varnish settings a Magento project would require.
Whatever the Application type you choose, you still need to contact Cloudways Support to ask them to:
- Downgrade Composer from version 2 to 1 by running
composer self-update --1(you can't do it because you don't have enough server permissions to do so). - Install a few Elasticseach plugins by running
bin/elasticsearch-plugin install analysis-phonetic; bin/elasticsearch-plugin install analysis-icu; bin/elasticsearch-plugin install analysis-smartcn;on the/usr/share/elasticsearchfolder (another thing you won't be able to do due to permissions).
You still need to configure a few bits here and there using the Cloudways Dashboard to make sure you match your project needs, including but not limited to the following items:
- PHP version, execution limit, memory limit, error reporting, and timezone.
- MySQL version and timezone.
- Nginx WAF module to be Cloudflare, Sucuri or disabled.
- Elasticsearch version, if needed.
- Redis, if needed.
- Varnish, if needed.
I can't tell what you need to put in those fields as that depends on the project.
Configure the Application
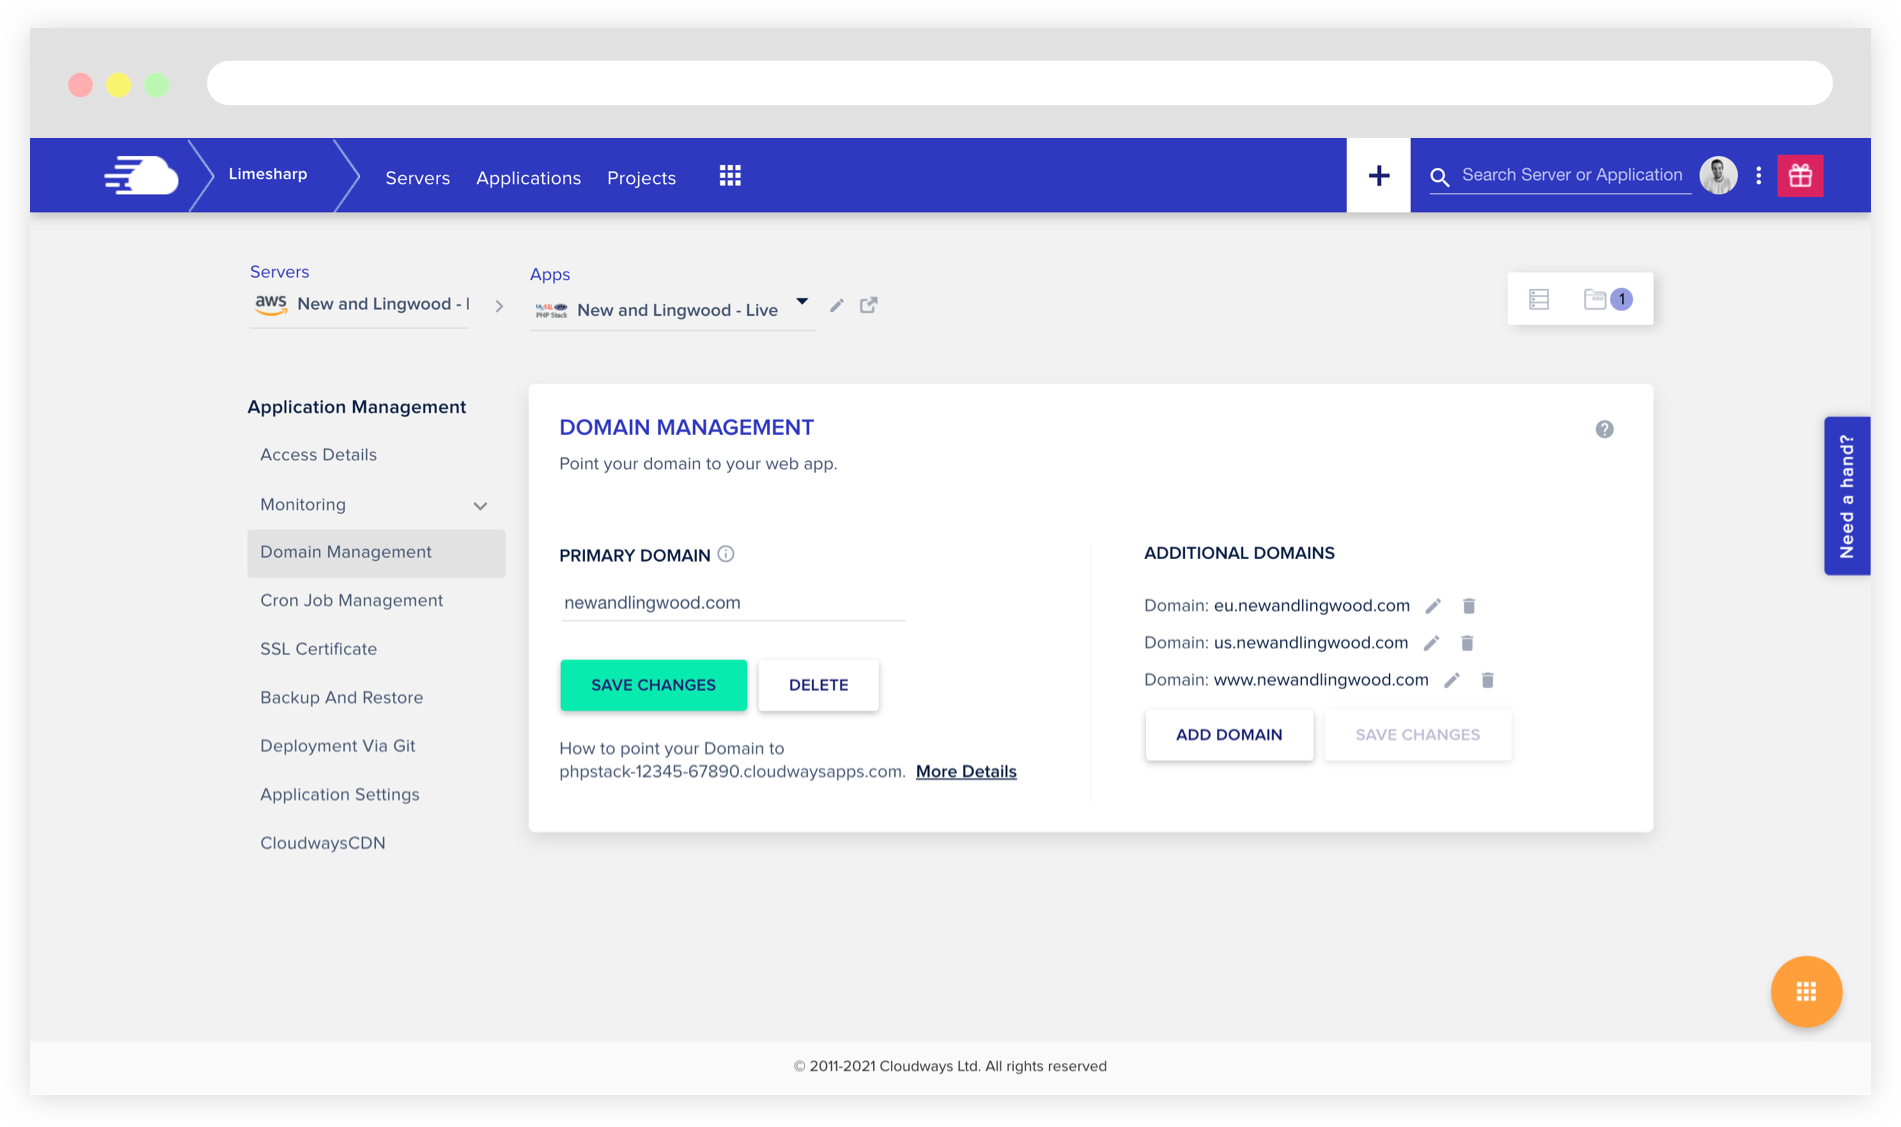
Inside the "Domain Management" section, make sure to configure the project's domain and all the additional necessary domains (like the ones used for different stores if your Magento project is configured to use multiple websites and stores).
Your "SSL Certificate" configuration will depend on what your project needs.
Since you are moving from one server to other, chances are you already have a SSL certificate that you can use, otherwise the Let's Encrypt option is quite good.
If you are using a firewall such as Cloudflare or Sucuri, the certificate might be "living there" already so there's nothing you need to configure here.
Do not add any cron in the "Cron Job Management" section for now.
We'll come back to the "Application Management" configuration later at the end.
Stop crons on the original server
By editing the crontab with crontab -e on the original server, or by contacting the original server hosting provider, disable all the crons by adding # at the beginning of each line.
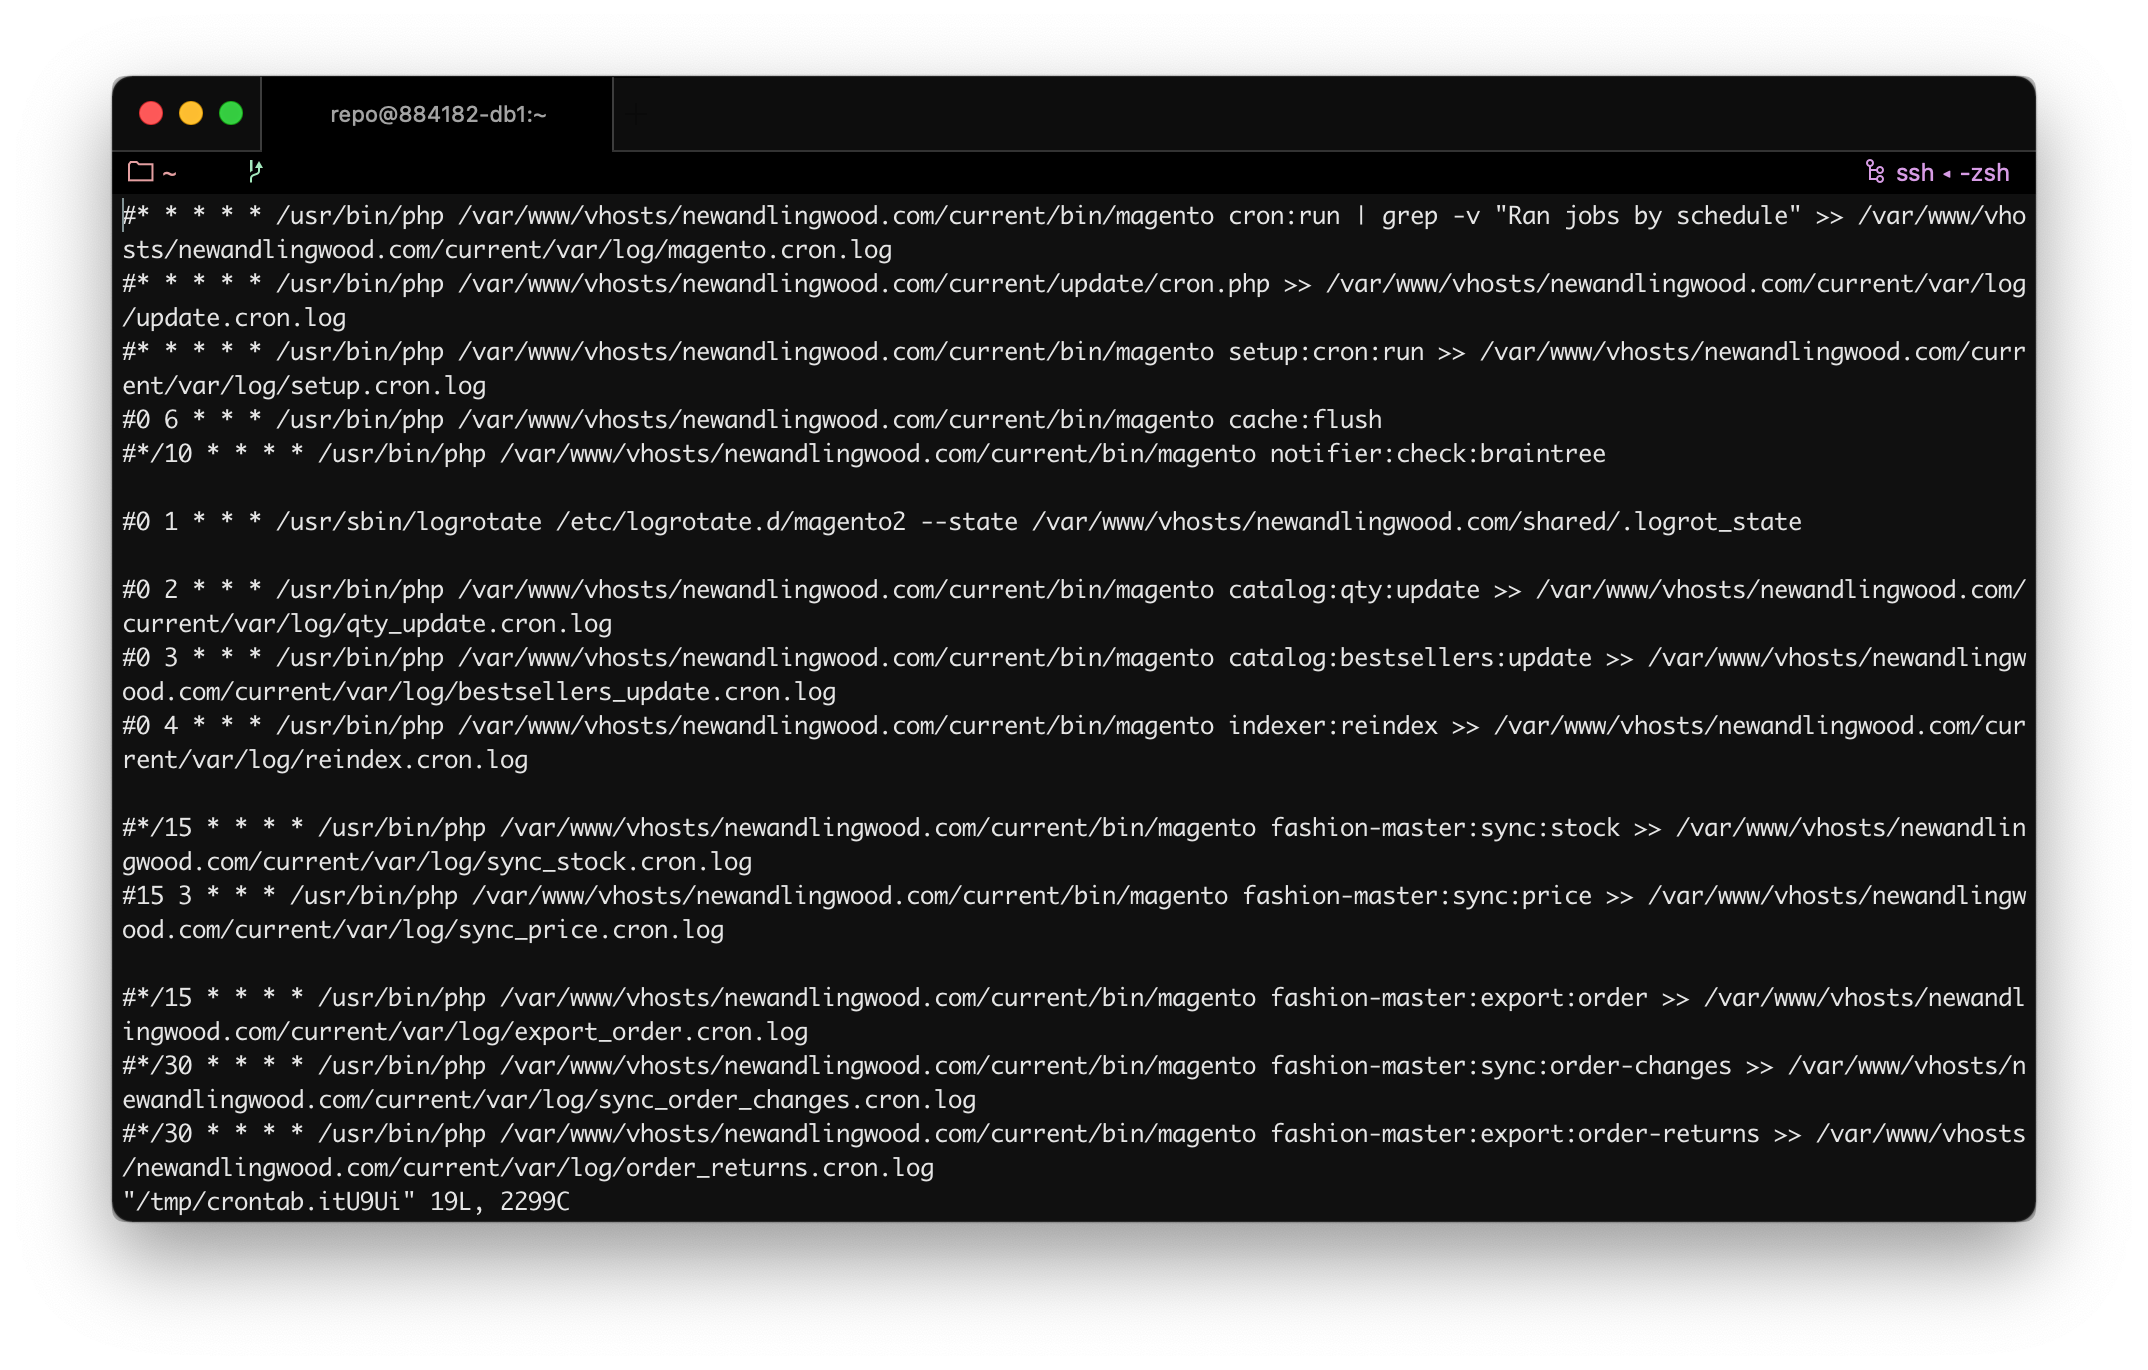
This needs to happen before you move any file from the original server to Cloudways, and before the database backup creation.
Technically speaking, you want to avoid Magento to keep on writing any file in, for example, the var folder within the Magento root folder, related to Orders processing or Catalog management (like stock updates), and you want Magento to stop altering tables related also to those entities, which are the usual stuff affected by crons (among many other things).
If, for example, there are pending Order and/or Catalog tasks, they will be taking place in Cloudways after we finish the migration and we enable back the crons on the new server.
Move the files
Make sure to move the pub/media folder from within the Magento root folder, and any other custom folder and file that doesn't live in the repository.
Usually, there are some custom folders and files inside the pub and var folders that are not created automatically.
If you happen to be using Capistrano on the original server you would have a shared folder in the web root. In that case, just move that folder from the original server to Cloudways.
The way I do it is by creating a .tar.gz file with everything in it, but any cache folder...
[user_original]:~$ tar cvzfh shared.tar.gz shared/ --exclude='pub/media/catalog/product/cache';...and then I transfer it from the original server to Cloudways using scp...
[user_original]:~$ scp shared.tar.gz user_cloudways@18.133.133.133:/mnt/data/home/master/applications/example/public_htmlMake sure to push this file into the public_html folder in the Cloudways server, so you just need to unzip it there with tar -xvf shared.tar.gz; and then delete it.
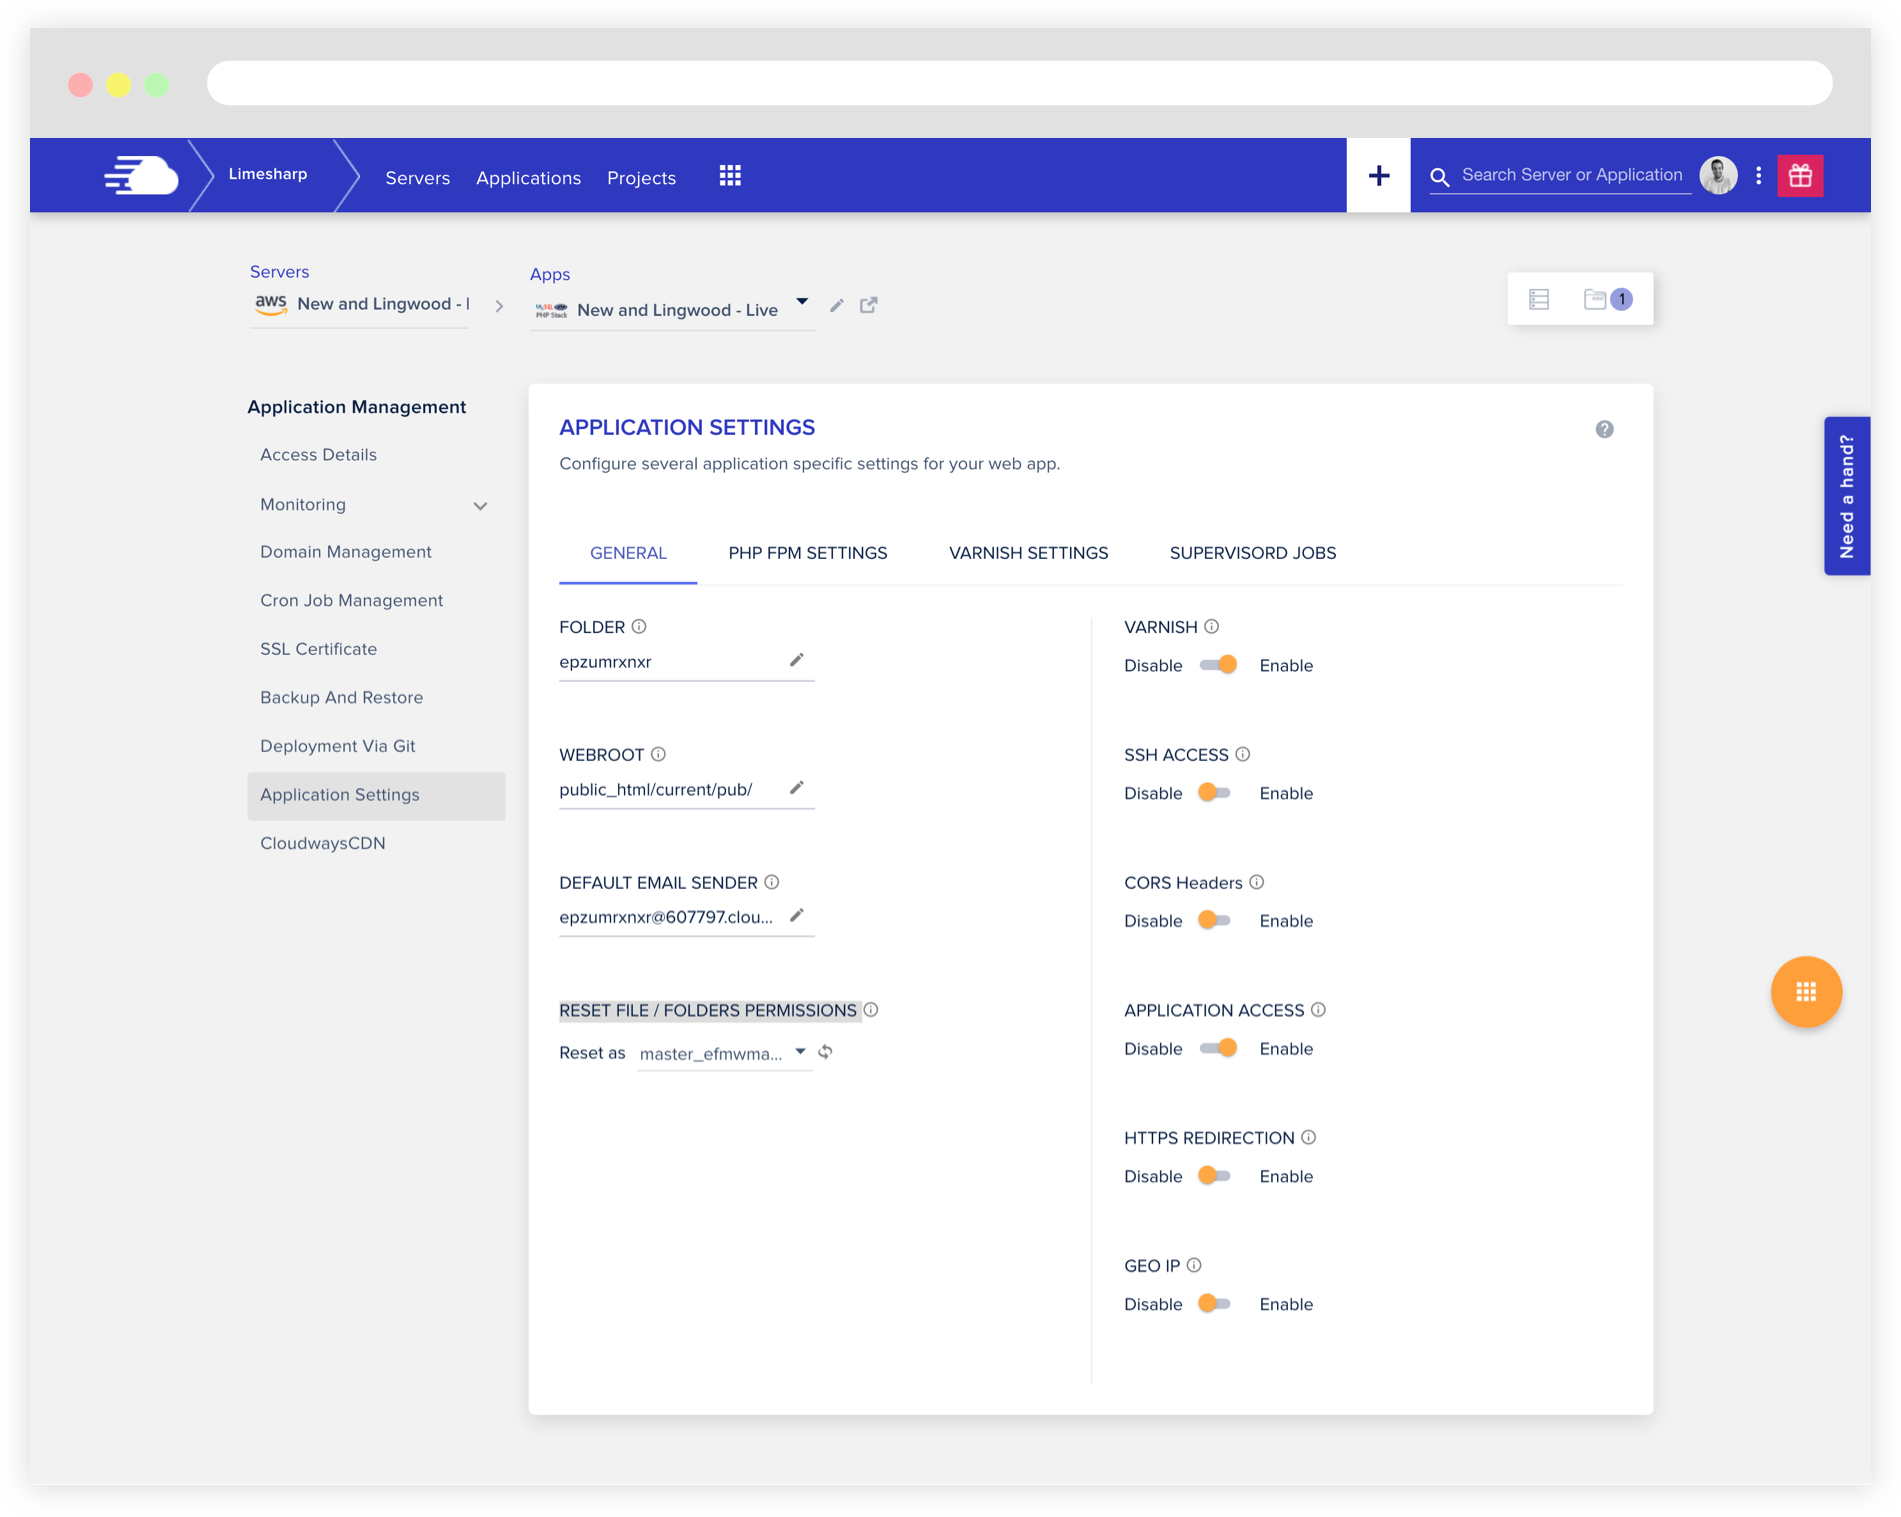
Something I would like to do, just in case, after this big move, is to fix any potential permissions issue with the files and folders I just unzipped, by reseting those permissions using the Cloudways Dashboard.
Enable Maintenance Mode
Put the site living on the original server into Maintenance Mode by running bin/magento maintenance:enable before proceeding.
For what it's worth, the downtime starts now.
Move the database
Using mysqldump create a database backup on the original server.
[user_original]:~$ mysqldump -uroot -p database_name > database_export.sql;For security reasons, make sure this happens on a folder not accessible over the browser, like on the private_html folder or anywhere outside the web root.
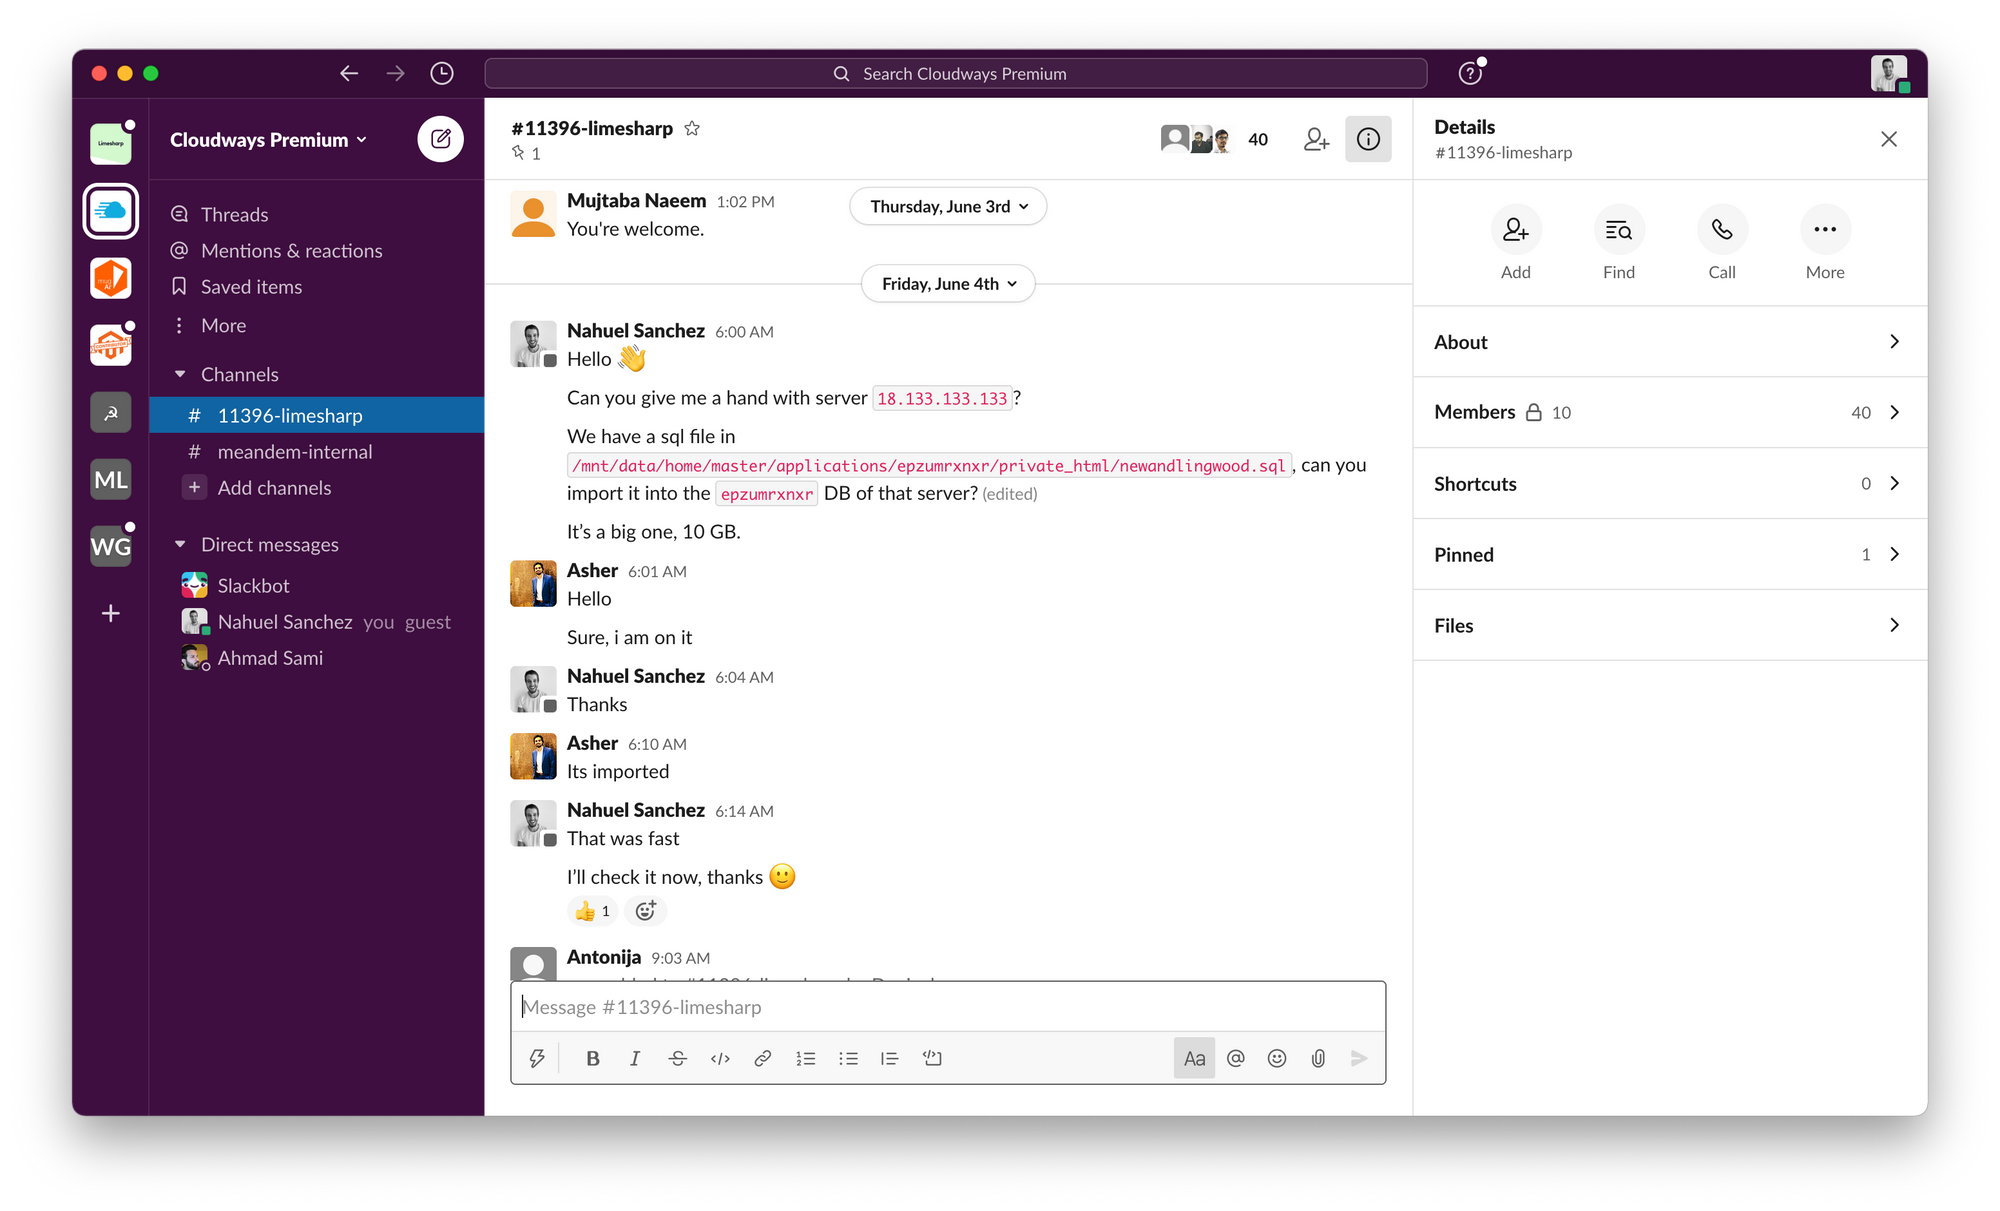
Once done, push this .sql file to the Cloudways server using scp again.
[user_original]:~$ scp database_export.sql user_cloudways@18.133.133.133:/mnt/data/home/master/applications/example/private_htmlFor the same security reasons, make sure to push this file to the private_html folder in the Cloudways server.
Once the transfer is completed, and before anything else, you need to remove the DEFINER from the .sql backup to avoid any "Access denied; you need (at least one of) the SUPER privilege(s) for this operation" issue while trying to import it.
Basically, run the following command on the private_html folder in Cloudways (or anywhere you pushed the .sql file before).
[user_cloudways]:~$ sed 's/\sDEFINER=`[^`]*`@`[^`]*`//g' -i database_export.sql;Now the backup is ready to be imported into the actual database in the new server.
For this to happen you need to contact Cloudways Support with the request.
After the import, make sure to delete the .sql file.
Configure Magento
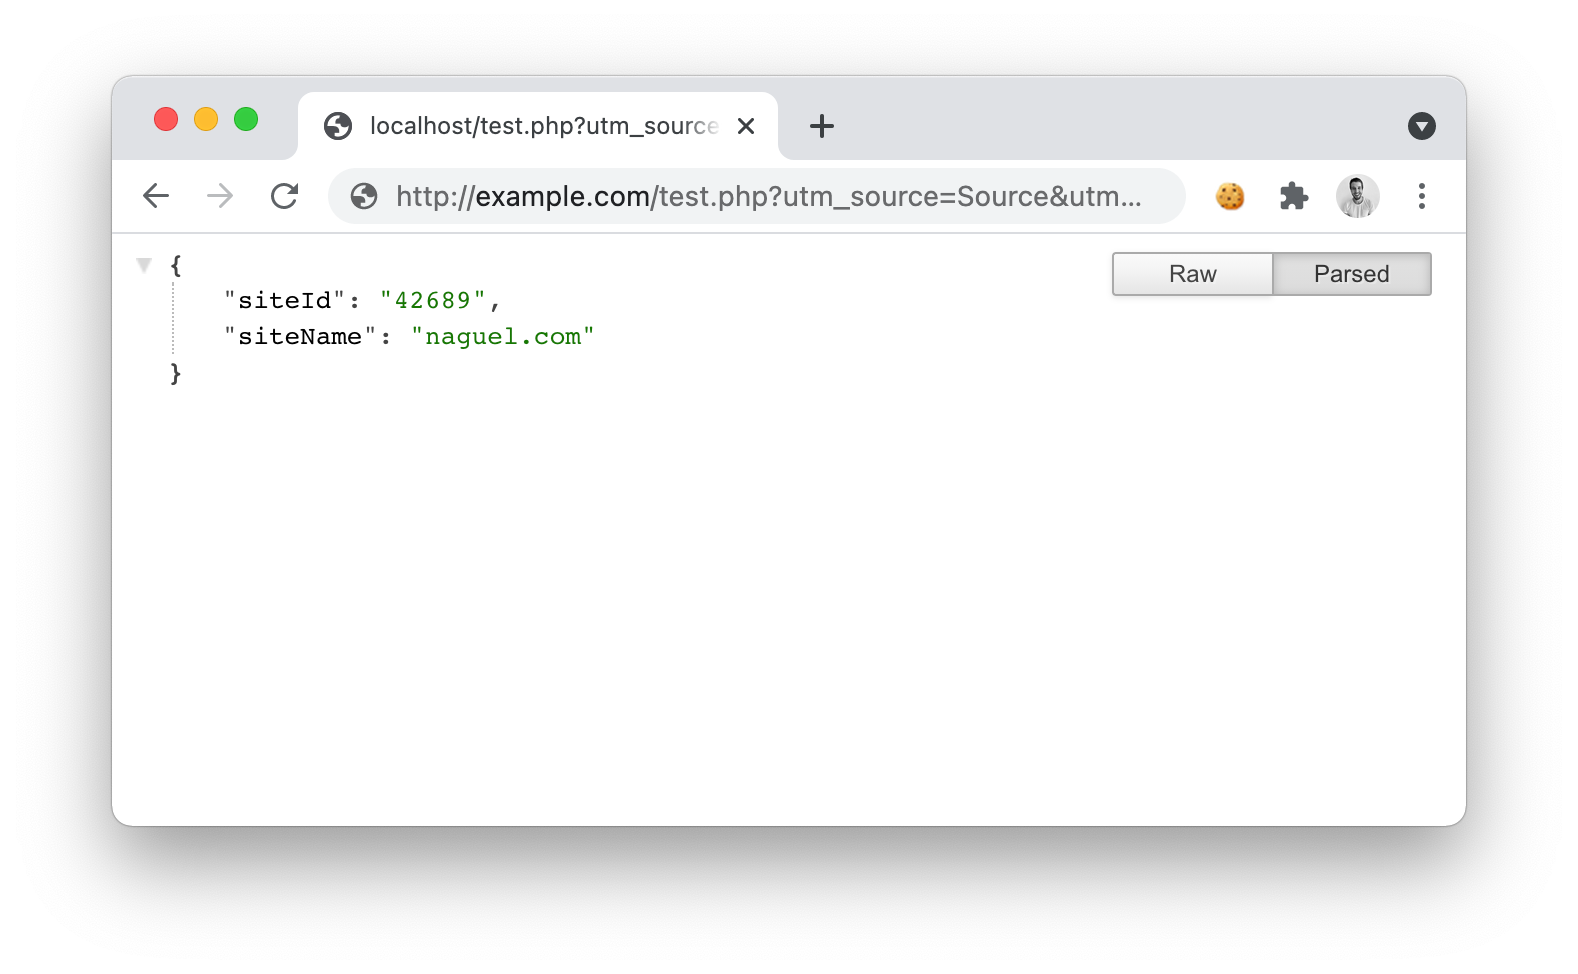
By accessing directly to the recently imported database in Cloudways, and not through the Magento Admin Panel, make sure to have the correct details for Varnish and Elasticsearch, keeping in mind that Cloudways uses port 8081 for Varnish, and 127.0.0.1:9200 for Elasticsearch.
Make sure there's no reference in the core_config_data table to the IP for the old server that you might need to change for the IP of the new one.
Go back to the files, and edit the app/etc/env.php file you transferred from the original server to fix the credentials for connecting to the new database living in Cloudways now.
In that same file, correct the details for Redis (if used) keeping in mind that Cloudways uses 127.0.0.1 and 6379 for the host and port, respectively.
Once done, clear cache and reindex to make sure everything is working.
Configure the Application again
Go back to the "Application Management" in the Cloudways Dashboard and configure, in the new server, all the crons you commented out on the original server, making sure to use the right paths for the new server.
Inside the "Application Settings", configure the "WEBROOT" to point to the pub folder from within the Magento root folder.
Point the domain to the new server
First thing first, make sure Magento is still on Maintenance Mode on the new server, and whitelist your IP to be able to access the site (using the bin/magento maintenance:allow-ips command).
Now change the DNS settings to point the project's domain to the new server.
The whole idea is to open the site only for you in order to test it before allowing real customers. So, while the DNS change propagates, some customers will hit the site on the old server (that will show the maintenance page forever and ever), and others will hit the site on the new Cloudways server (that it will also show the maintenance page while you test it).
Now is when you test the site and make sure everything is okay.
Disable Maintenance Mode
Once you are done with the testing open the site, now in Cloudways, to the public, by disabling the Maintenance Mode (with the bin/magento maintenance:disable command).
The downtime ends now.